© 2026 STGMNN Labs UG (haftungsbeschränkt) · PiltoverArchive.com. Piltover Archive was created under Riot Games' “Legal Jibber Jabber” policy using assets owned by Riot Games. Riot Games does not endorse or sponsor this project.
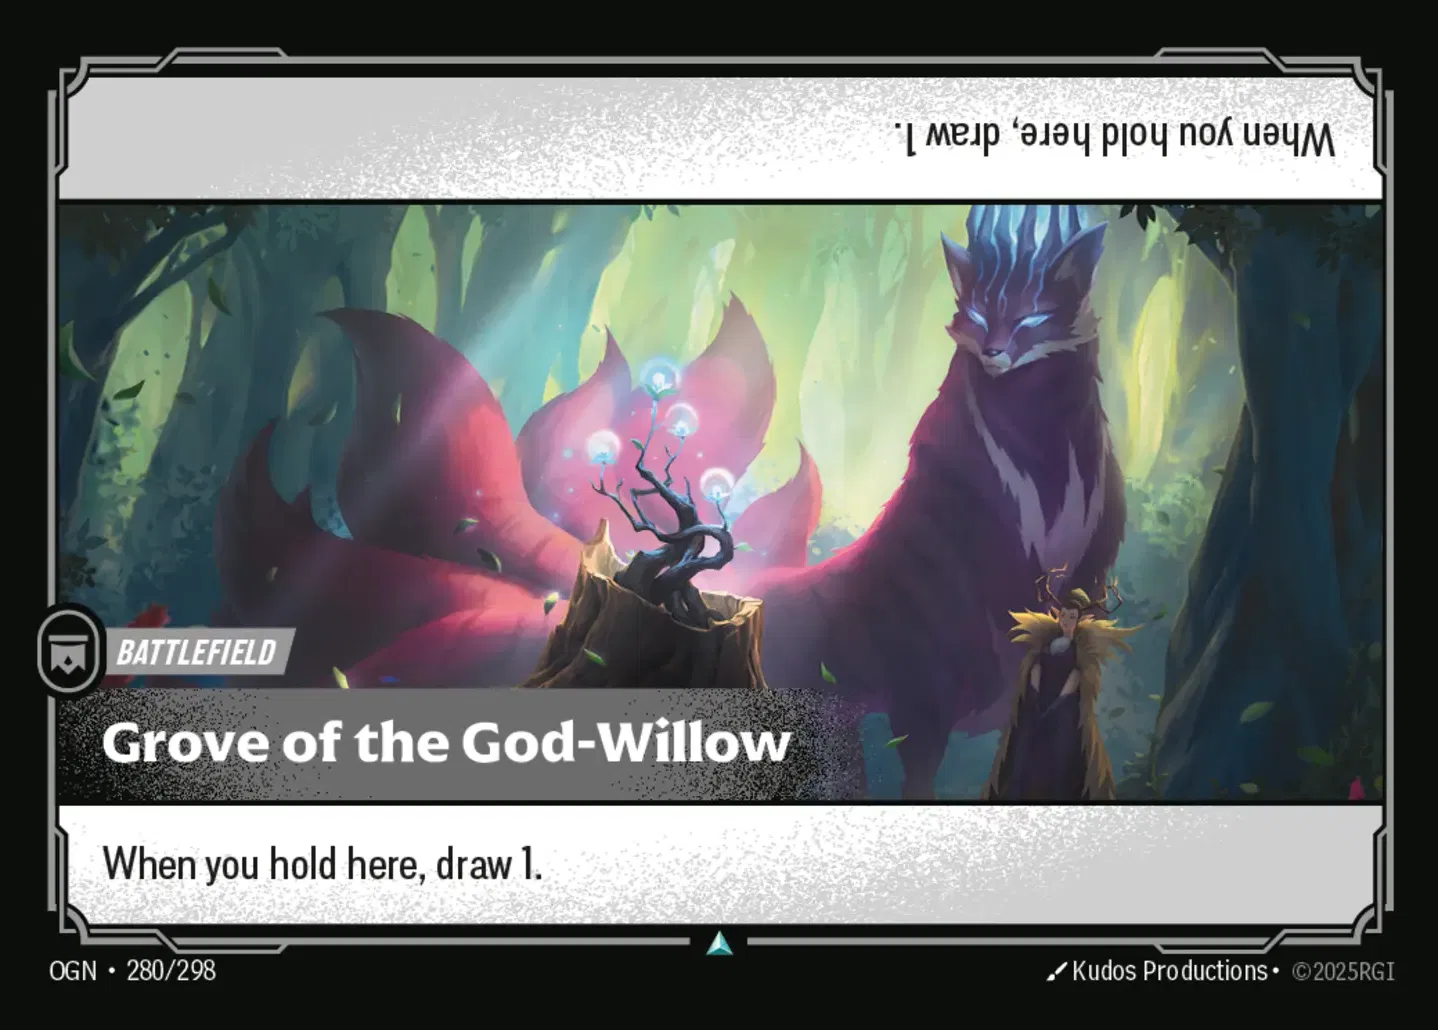
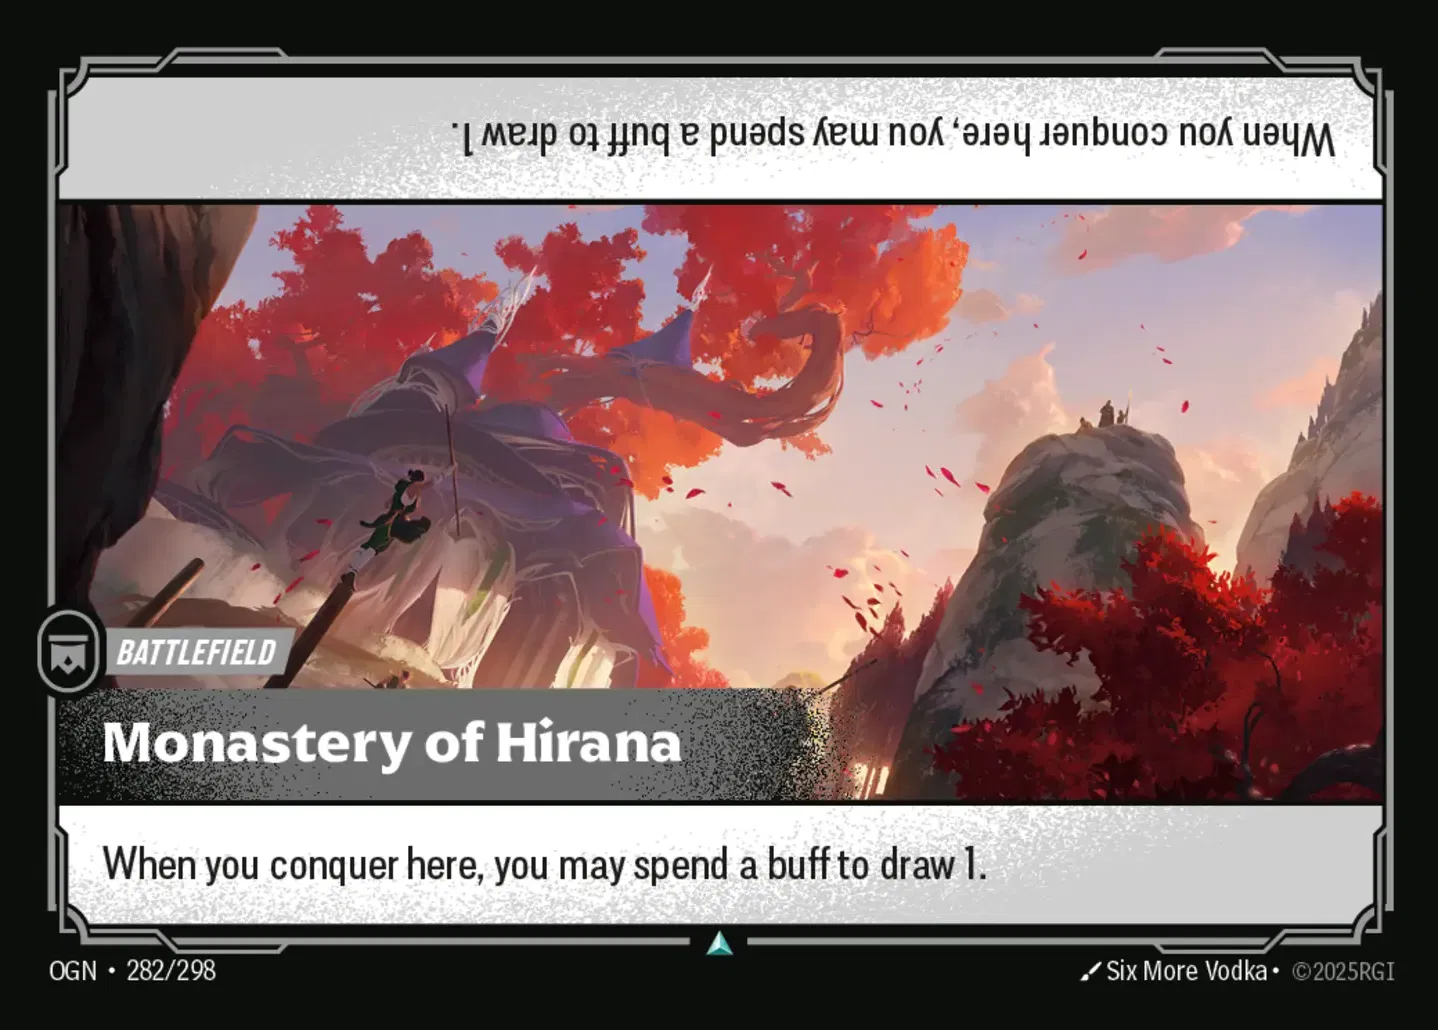
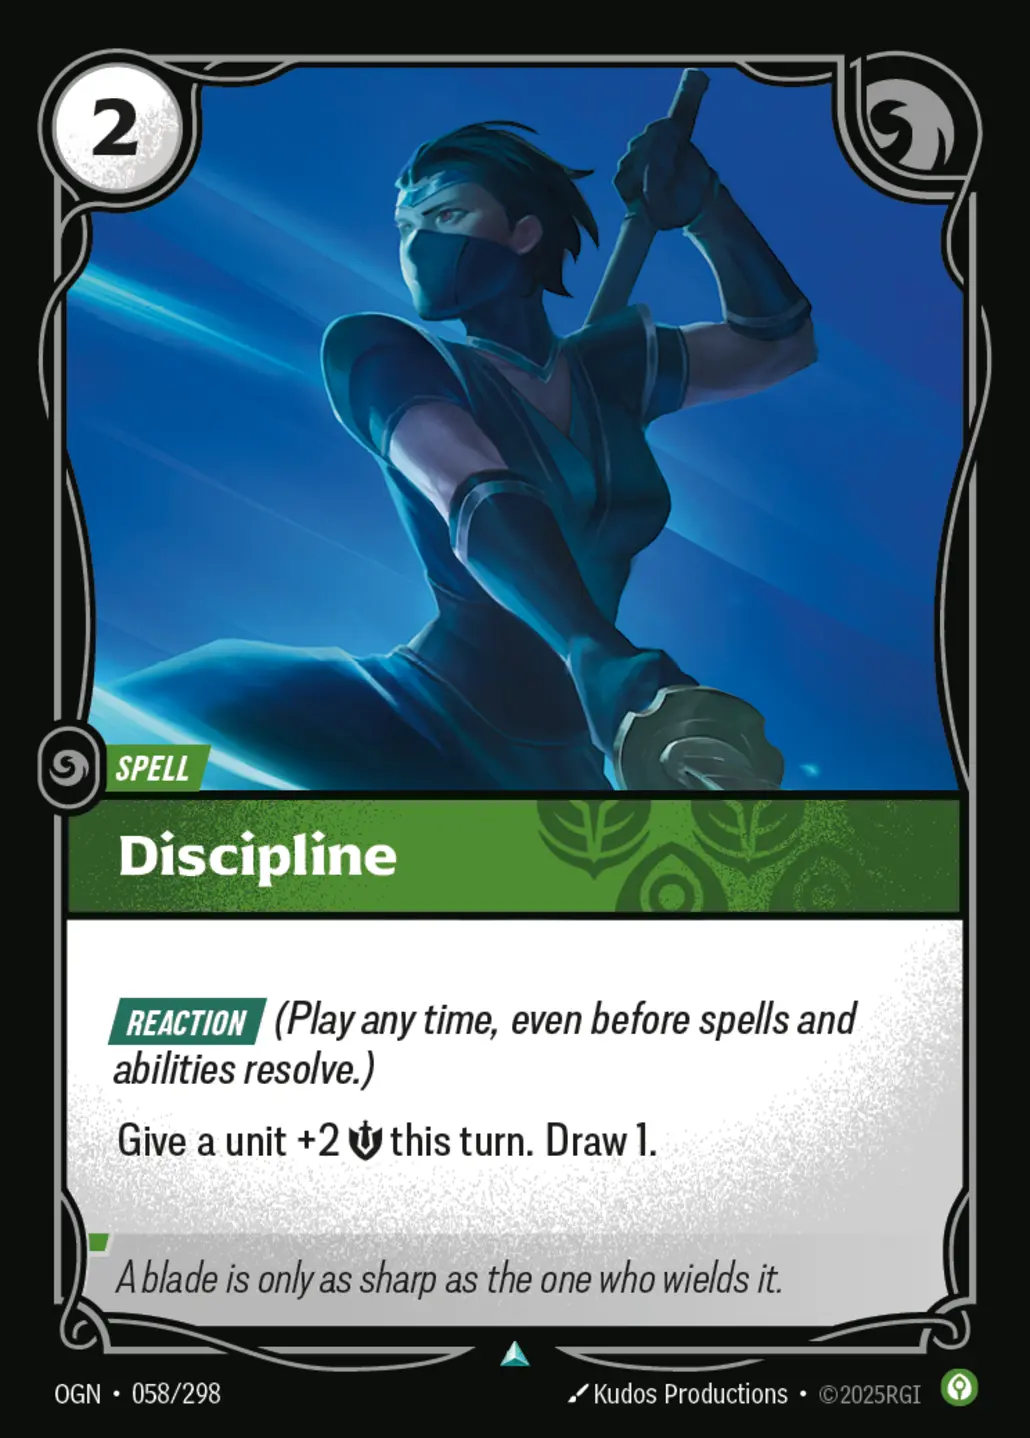
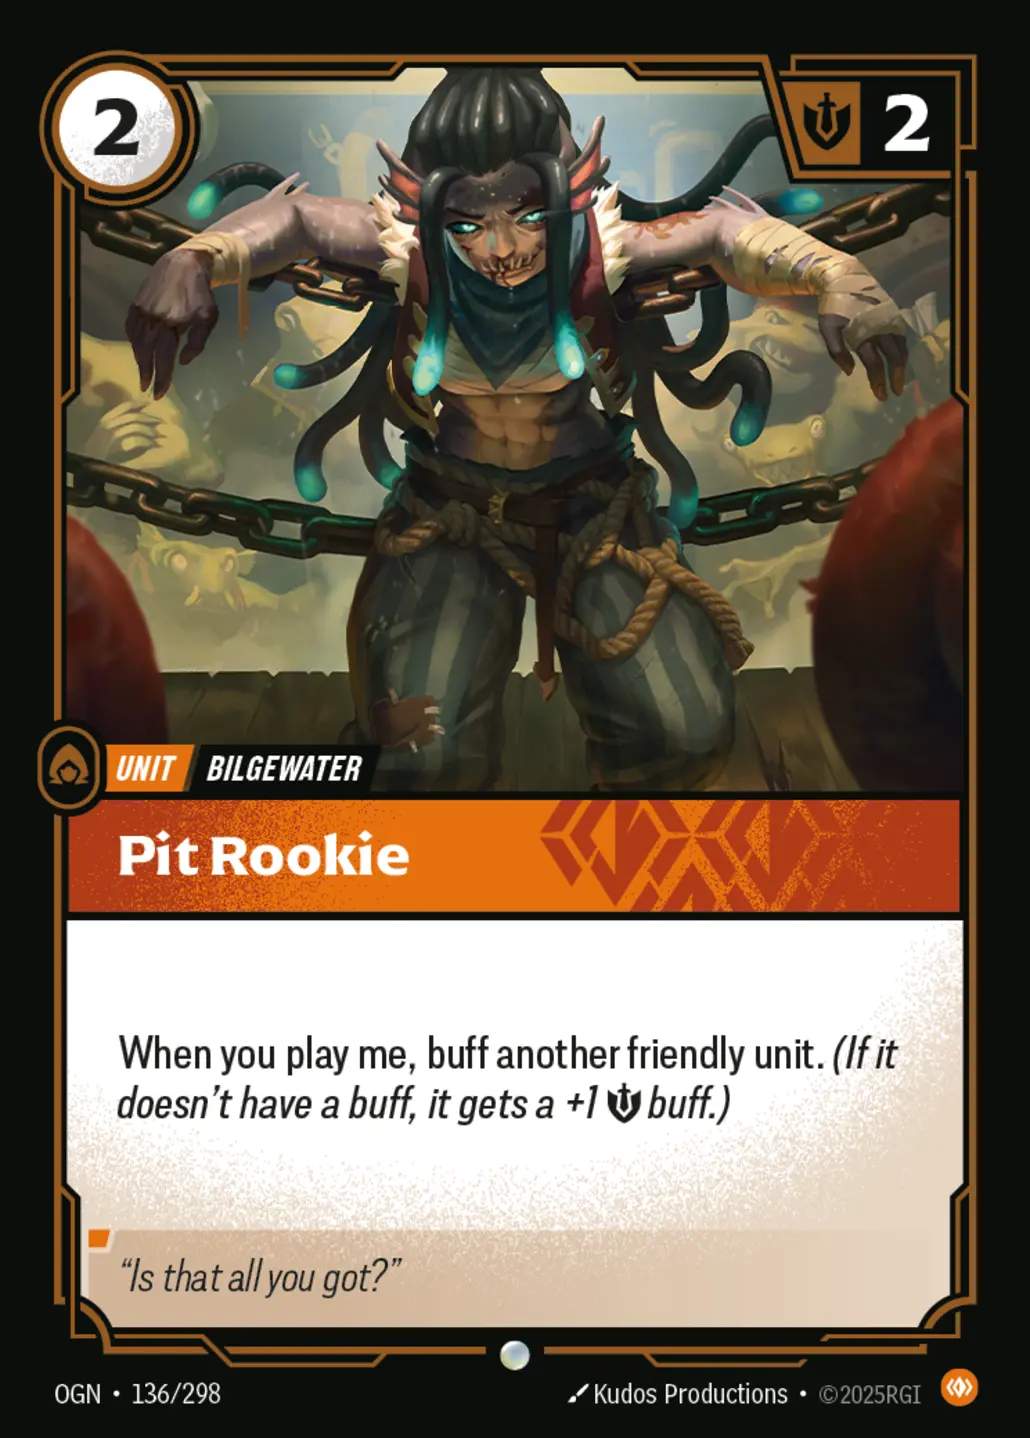
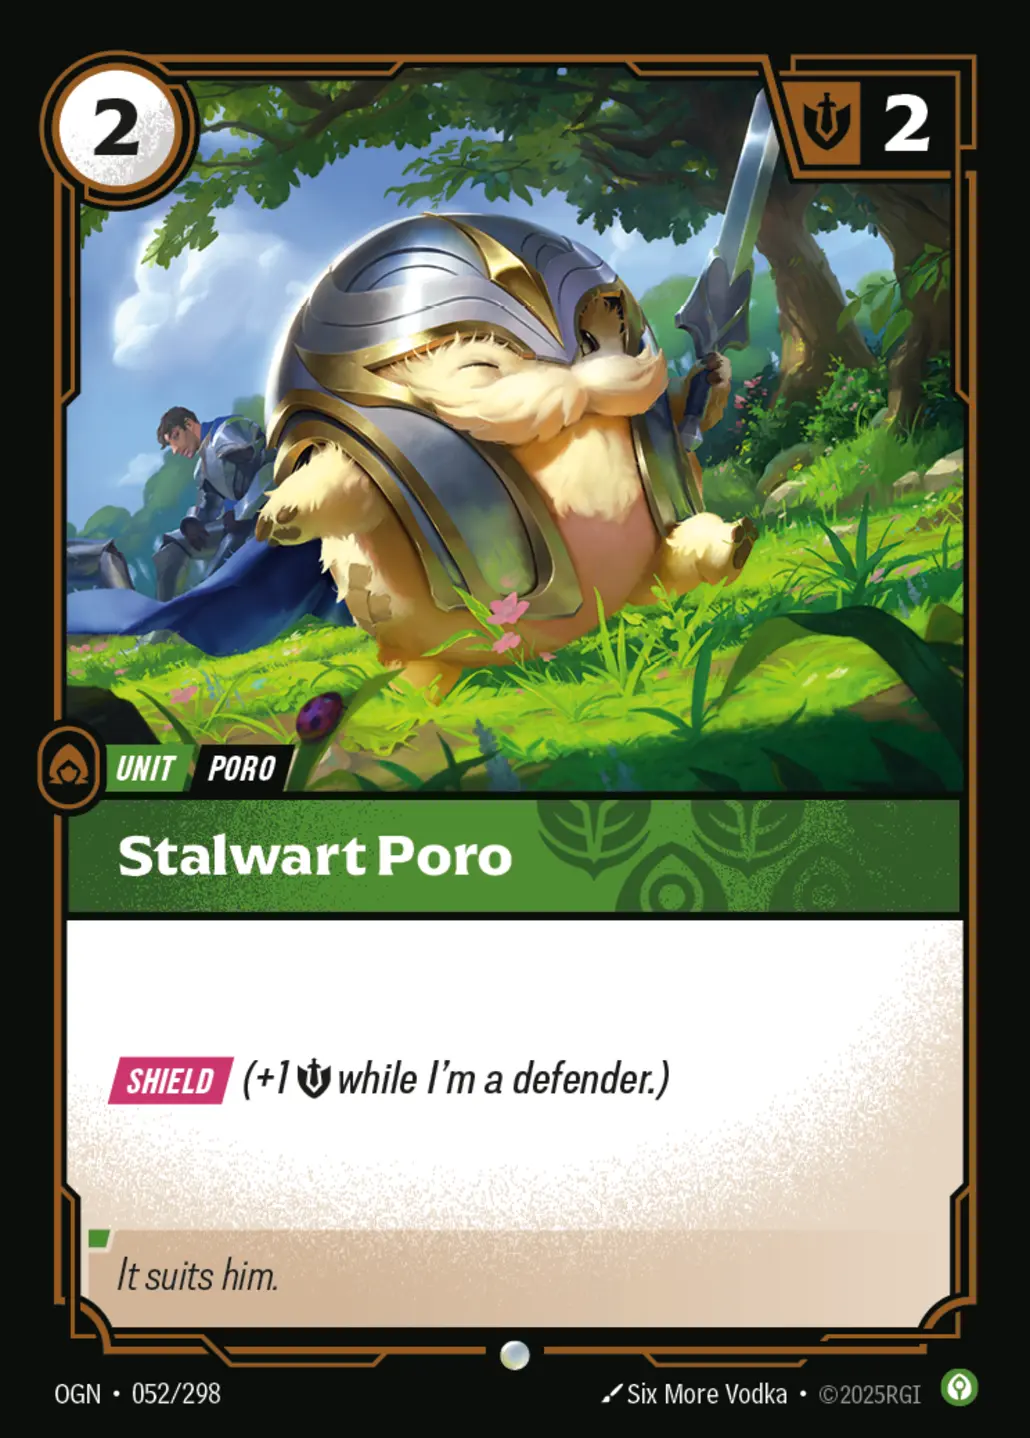
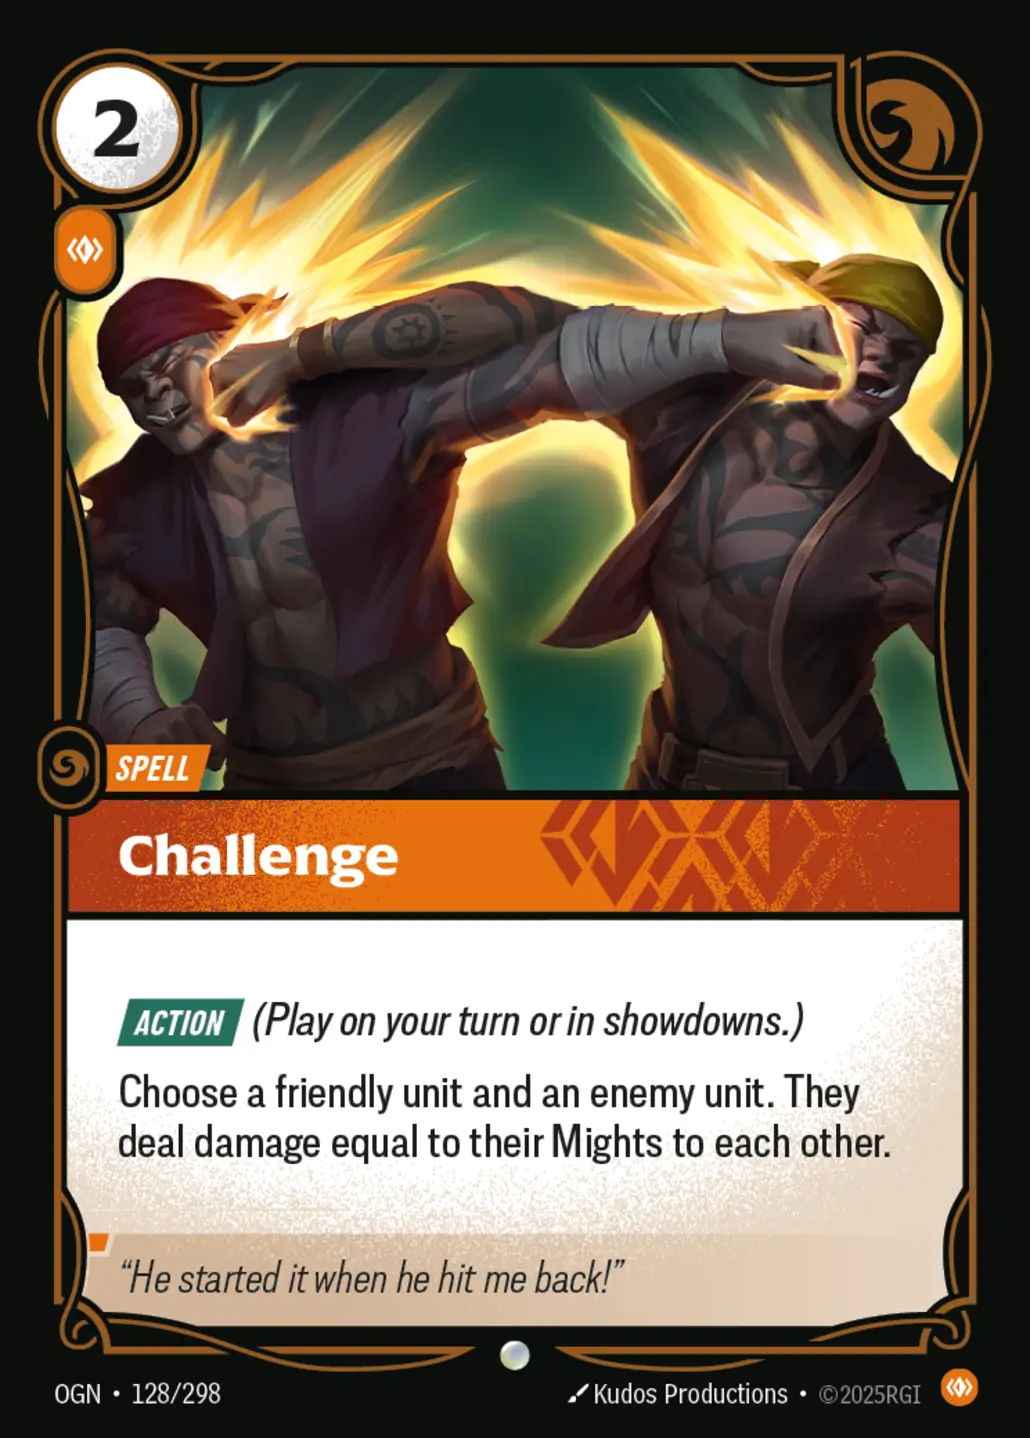
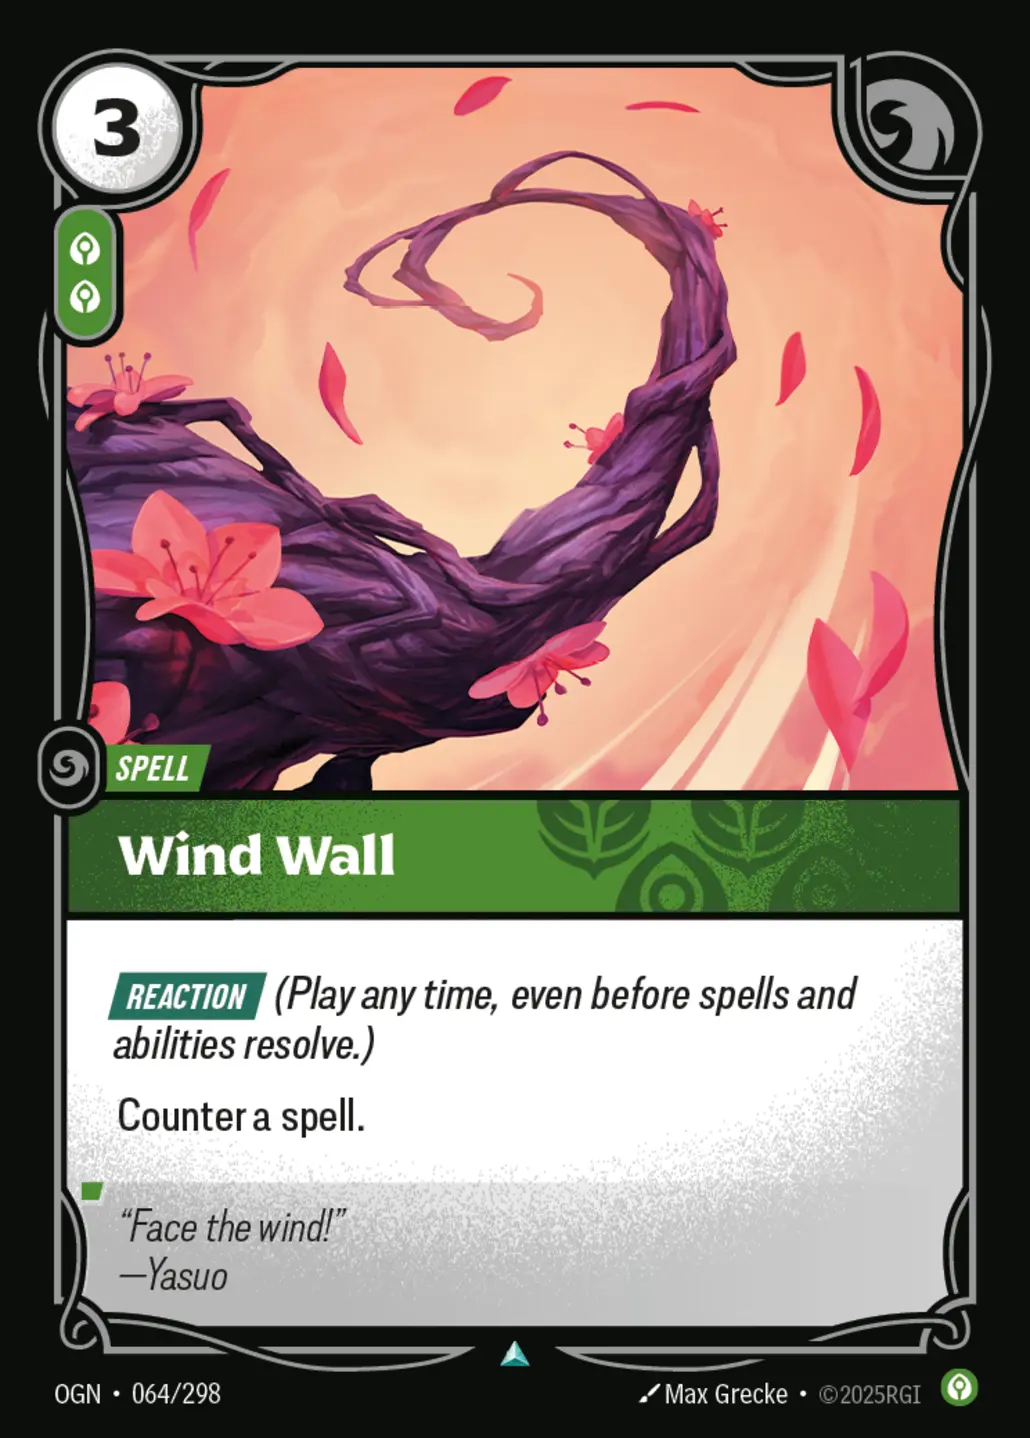
**Hold‑and‑gank midrange/control.** You establish an early hold on one battlefield, bank runes for reaction/counter play, then use **Windswept Hillock** to “gank” across and steal points when windows open. Calm provides stuns, counters, and protection; Body supplies beefy stats and finishing power. --- ## What wins you games * **Scoring:** You gain 1 point when you **conquer** a battlefield and 1 point at the start of your next turn for each battlefield you **hold**. Your **final point** can always come from **holding**; if you try to win by **conquering**, you only get the last point if you scored **every** battlefield that turn (otherwise, you draw a card instead). Plan to reach 7 and then win by holding. * **Runes (resources):** Each turn you see two new runes. You can **exhaust** them for **Energy** or **recycle** them for **Power** (they go back into the rune deck and come back later). Calm specializes in defensive tricks and counter‑interaction; Body specializes in efficient units and combat dominance. * **Ganking (movement):** Units with **Ganking** can use their *standard* move to go **battlefield‑to‑battlefield** (not an extra move; normal timing still applies). This is what makes **Windswept Hillock** so dangerous midgame. --- ## Battlefields — what to pick and why 1. **Grove of the God‑Willow** — *“When you hold here, draw 1.”* Use Grove to refuel once you’ve locked a point; this synergizes with Calm’s plan to defend and counter. 2. **Monastery of Hirana** — *“When you conquer here, you may spend a buff to draw 1.”* Great when your list naturally produces buffs (Lee’s kit and Calm tricks). If the opponent can’t reliably buff, your “spend a buff” tax is trivial for you and punishing for them. 3. **Windswept Hillock** — *“Units here have Ganking.”* Park your defender on one battlefield, then pivot across the map to swing a second point or punish over‑commits. The Hillock line is your main way to convert a stable hold into a multi‑point turn. **Default configurations:** * **Monastery + Grove** when you expect long games and want steady draw. * **Hillock + Grove** when you plan to hold with Lee Sin and **gank** the other side to break stalls. * Pick the third slot based on matchup and how much buff/draw you’ll realistically get that game. --- ## Mulligan & early game (Turn 1–2) Look for **cheap, sticky defenders** that either scale or protect themselves: * **Stalwart Poro** (SHIELD: +1 Might while defending) * **Wielder of Water** (+2 Might when attacking/defending **alone**) * **Clockwork Keeper** (flexible 2‑drop that can also pay an extra Calm rune as you play it) * **Pit Rookie / Cithria of Cloudfield** for board presence and buffs over time. Try to **go first** when possible, establish a defender on **Grove**, and begin protecting that position with reaction spells. --- ## Your resource posture (what to keep up) * **Wind Wall** — the hard counter. Keep **3 Energy + 2 Power** available when you want to represent it. It **counters a spell** outright. Use it on the **impactful** pieces (big removal, fight‑swingers), not low‑leverage fluff. * **Defy** — the cheap counter. It counters **low‑cost** spells efficiently and is perfect tempo protection in the early turns. * **Discipline / En Garde** — reaction buffs that let your unit **win combat** or live through removal; hold one up when defending alone. * **Zhonya’s Hourglass** — *Hidden* gear that saves a unit from death once (kills the Hourglass, recalls the unit exhausted). Recent rules updates clarified how *Hidden* targeting works—play it correctly. **Rule of thumb:** if a spell **doesn’t change the outcome of a combat or a battlefield**, don’t spend a counter on it. Save your runes for the swing turns and for protecting the hold. --- ## Playing Lee Sin correctly * Keep **Lee Sin, Ascetic** in your Champion Zone until you’ve **secured** a battlefield; then deploy him where he immediately pressures a hold or a gank line. * Avoid “even trades” with Lee unless you already have backup copies/buffs; he’s your best stabilizer and finisher. * Protect Lee with **reaction buffs/counters**; **Zhonya’s** is your insurance against big kill spells. --- ## Typical turn templates * **Early (T1–T3):** Play a sticky 2–3‑drop to a battlefield; leave 1–2 runes open for **Defy/Discipline**. Try to **hold Grove** for the draw. * **Mid (T4–T6):** Deploy **Lee** to the locked battlefield. Start threatening **Hillock** turns (gank across). Keep **Wind Wall** up when the opponent reaches their high‑impact costs. * **Closeout:** Use a large Body/Calm finisher to force through the final exchanges—**Whiteflame Protector** is perfect (drops with **+8 Might** to something this turn). Win on **hold** whenever possible. --- ## Matchup & sideboard notes **Viktor (Mind/Order Recruit/Spellslinger)** — hardest common matchup. * Bring in **Flurry of Blades** (sweeps 1 to the board) and **Challenge** to pick off key bodies; save **Wind Wall/Defy** for **Siphon Power** or large removal that flips combat. Viktor’s leader ability floods small units; your plan is to blunt their mass‑pump turns, then gank across for multiple points. **Kai’Sa / Annie / Mind Spellslinger** * Add **Sabotage** to snipe a crucial non‑unit from hand and lean harder on **Defy/Wind Wall**. Kai’Sa lists lean on cheap interaction and card draw; make their key turn fizzle. **Aurora / Gear engines (e.g., Dazzling Aurora)** * Respect **Aurora**—it free‑plays units at end step and snowballs if unchecked. Counter it on the way down or pressure before it lands; if your local meta is gear‑heavy, consider adding specific **gear hate** from your collection. **General tip:** if you’re at **7 points**, do **not** chase a final point via a single conquer unless you’re also scoring the other battlefield that turn—otherwise you draw a card instead of winning. Play for the **hold** or a **double‑score** turn. --- ## Card‑by‑card quick roles * **Stalwart Poro** — premier early defender (SHIELD). * **Wielder of Water** — 4 Might in solo fights; ideal one‑unit holds. * **Wizened Elder** — gets an extra +1 while **buffed**; pairs with your reaction buffs. * **Whiteflame Protector** — 8‑drop closer; immediate +8 this turn to punch through. * **Wind Wall / Defy / Discipline / En Garde** — your counter & combat stack. * **Zhonya’s Hourglass** — hidden save button vs kill turns. --- ## Upgrades & swaps (if you own them) * **Qiyana – Victorious** over **Wizened Elder**: trades raw Might for **DEFLECT** protection plus value on **conquer** (draw or channel). Better when you care about surviving targeted interaction while flipping points. * Extra copies of **Cithria**, **Wind Wall**, **Zhonya’s**, and **Wind Wall/Wind Wall** style effects are all reasonable if you want more stickiness and protection. Check current **errata** when tuning—text has been updated on several Origins cards. --- ## Common mistakes to avoid * **Countering the wrong spells.** Hold counters for the **largest swing effects** (e.g., big removal, Siphon Power, or board‑clear that breaks your hold). * **Over‑committing Lee Sin.** Keep a rune up to protect him or a **Zhonya’s** in the chamber before exposing him to removal. * **Forgetting the final‑point rule.** Your last point is usually a **hold**; don’t punt a win chasing a single conquer. --- ### TL;DR play pattern 1. **Go first**, stick a **solo defender** (Poro/Wielder) on **Grove**. 2. **Bank runes** and protect with **Defy/Discipline**. 3. Drop **Lee** onto your locked point; keep counters up. 4. Use **Hillock** to gank across for swing turns; finish with **Whiteflame** or a clean **hold** to 8. ([Riftbound.gg][4])